
Tuesday, December 24, 2013

Happy Holidays

Well, it's almost here!  Shopping done - check, Christmas Tree up - check, gifts wrapped - check, worked half day today - Yea!  Hope, if you are celebrating, you are ready and can enjoy the holiday.  That's what I'm doing the rest of the day today, and tomorrow!


I have been making an effort to spend time, weekly, in my studio.  I find if I take a few hours each week I can make several things, further organize the room and just work on getting the creative juices flowing.  So far, so good. 

I'm sure I've mentioned Cindy Lietz before.  She's a polymer clay expert and has video tutorials you can subscribe to.  The videos come out monthly and the price is right, so, I've been following her for a few years now.  Recently she did a tutorial on faux enamel and viking knit.  As usual, I couldn't wait to try it.

Here are a few pieces I made this past week. 

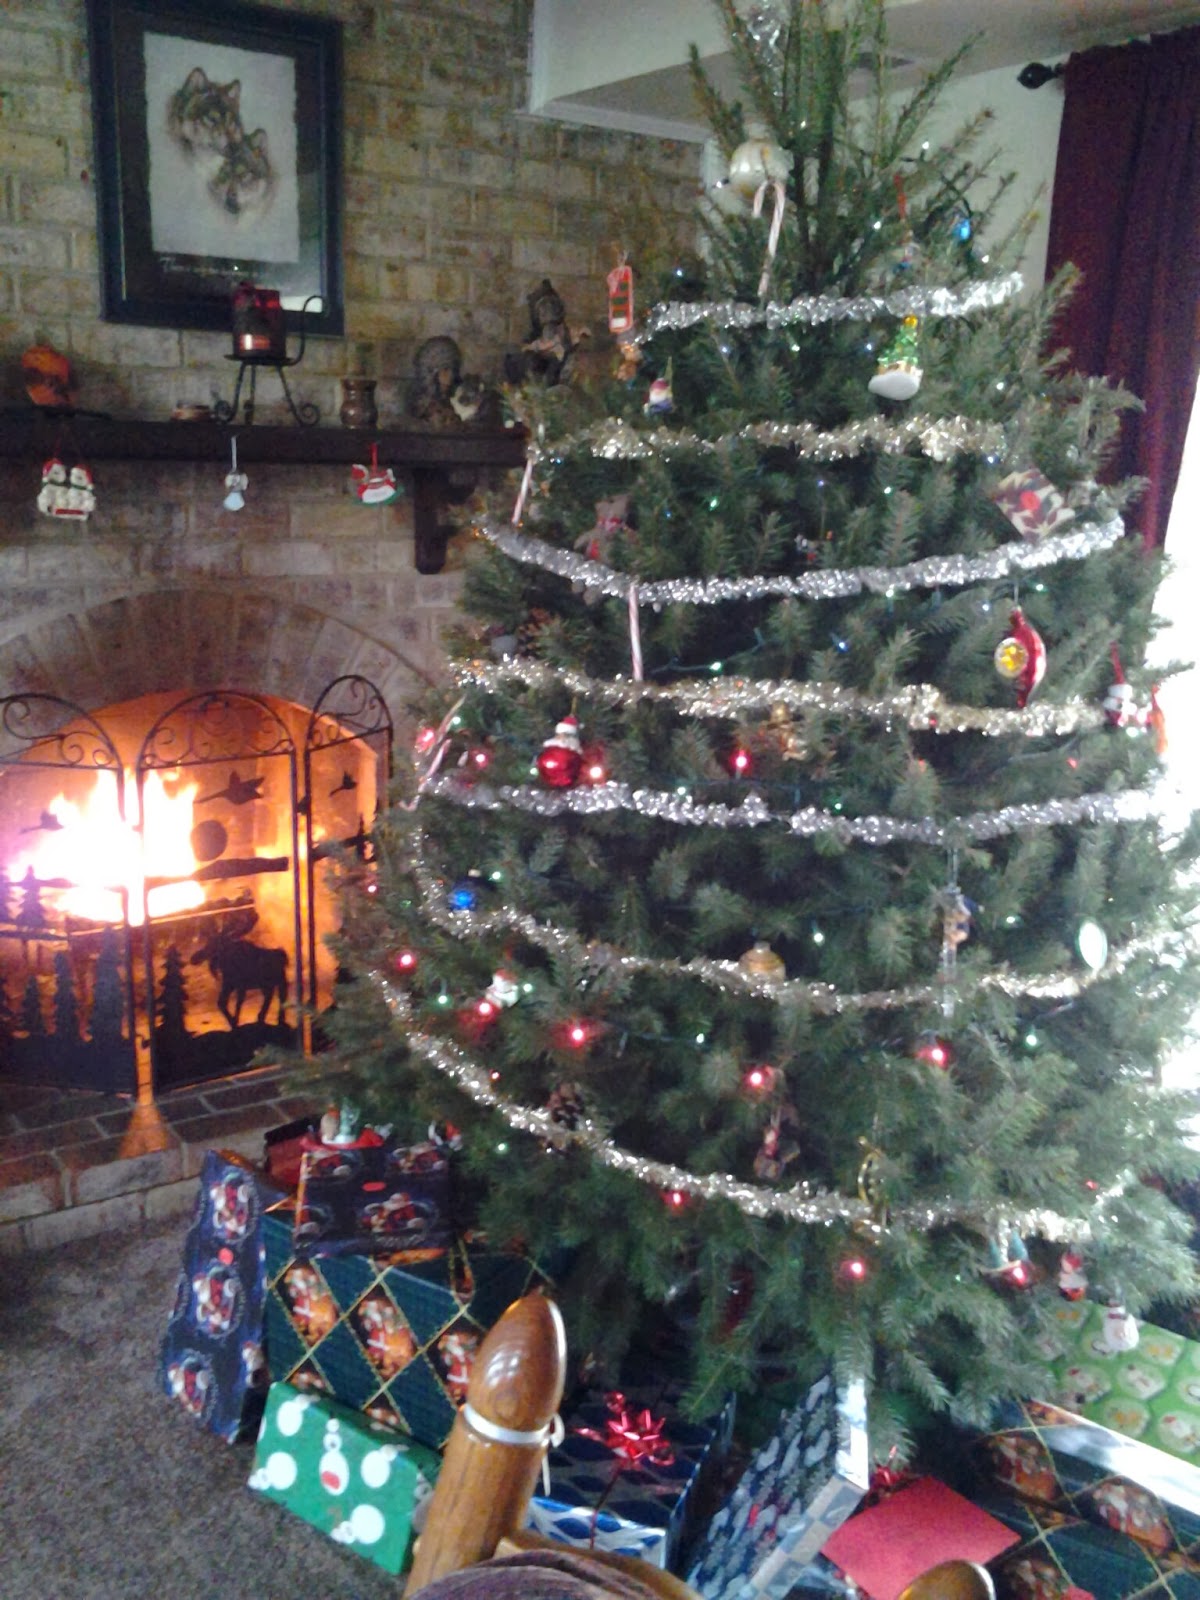
I've downloaded a few photo editing programs and have been trying to figure out how to work them.  My goal is to retake pictures of my inventory and redo my website.  If your are interested you can download Picasa 3 and Photoscape.  They were both free.  Just make sure when you load the Picasa that you decline the ads.  I made the mistake of thinking it was part of the download process and I thought I didn't have an option to decline.  Well, several weeks later and with the help of my neighbor {IT genius}, I got the ads off and reloaded the program.  It should be interesting to see what difference it will make with my photos.  The picture above was done on Photoscape.  I thought the frame was appropriate for the season!

Hope everyone has a Merry Christmas and a fruitful New Year!  Til next time, stay safe and be happy.


Sunday, December 1, 2013

Shopping frenzy???

Yes, I did brave the crowds to go out last Friday to try to finish up my Christmas shopping.  I have to say, it wasn't bad.  We only went to a few stores, as I knew what I wanted.  The first stop I made was to Michaels.  They had a great sale and I ended up getting quite a discount! 

 It was nice to have a four day weekend.  Thanksgiving was quiet; just four of us, but the turkey turned out great {we'll be eating leftovers forever!}, the weather was gorgeous, and the Ravens won!!!!  Besides celebrating and shopping, I had a chance to catch up on watching my video tutorials from Cindy Lietz.  That in itself can be dangerous....she always has such neat information and ideas, I am inclined to expand my jewelry making repertoire {hence Michaels and the "great" savings}.  One of the videos I watched was for an owl charm.  There was also a charm made of metal that she stamped.  So, of course, I have been searching the web for any information I can find on metalsmithing and bought some metal sheets at Michaels.  I also made a trip to Polymer Clay Express yesterday for additional supplies.  It's great to have them so close. 

My daughter has been asking me for months to make her a tree of life pendant with her children's birthstone colors.   I was finally able to put a piece together for her.  I wanted to add a crystal for her and her husband, however, I didn't have the colors I needed.  Still, I'm pleased with how it turned out.


Well, the weekend is almost over; time to get some housework done.  At least I don't have to worry about what's for dinner tonight!

Til next time; stay safe and be happy.

Monday, November 25, 2013

End of shows for 2013

We had our last show of the season last Saturday.  It was at one of the local schools {we show every spring and fall}.  It was very busy, a great turnout.  I think it's one of the quickest days I ever had when doing a show. I can always count on my regulars that stop by every show.  This year, some of them even brought friends!  What a great compliment.

I work full time and while I love creating, I admit I don't spend a lot of time on promoting my side business.  Every year, I promise myself I will work harder to get my name out there.  Then, before you know it, the year rushes by.  I've decided {again!} to work on getting to more shows next year.  I plan to start looking after Christmas and coming up with a list of potential venues.  Then, we'll see.

I did two things with this last show, that I had not done before, and hope to see some results.  I developed a tri-fold pamphlet to hand out at shows.  It tells about my work, has some pictures and hopefully will encourage customers to contact me for custom pieces.  Secondly, I had a Holiday Special give away.  Anyone spending a designated amount was able to fill out a little card for a drawing after the show.  I made 2 beaded necklace and earring sets and I had them put which one they wanted if they won.  I randomly picked the winner tonight and sent an e-mail to her, plus sent a general thank you e-mail to all the others. Here's the picture of the two sets I made.

The winner was the only one that chose the red set.  Soooo, the blue one is still up for grabs!

Til next time, I hope everyone has a great week, stay safe, be happy and... if you celebrate have a Happy Thanksgiving.

Sunday, November 17, 2013

Getting ready for the holidays

I really don't know where the time goes.  Less than two weeks until Thanksgiving, then the mad Christmas rush. 

We've been lucky with fair weather the last few weekends {until today - there is fog and drizzle!}.  In October, we did a weekend show at a local fairground.  Now, one would think that October would glide in with some cooler temps and the promise of color changes to come with wonderful fall scents and the desire to get outside.  Well, let me tell you....it was so hot, we were sweating just standing around!  The crowds were no where to be seen and sales were low.  Even the event planners were surprised that some vendors did not show up and traffic was slow.  But, I always look at it as an opportunity to meet other artisans, network and sometimes, get good ideas for my small side business.

Somehow, the fall decorations didn't feel right with 90+ temps!

One of the yearly shows I have been doing in November is no more.  The planner indicated she just wasn't doing it any longer.  Luckily, my daughter put together a fundraiser show for my grandson's boy scout troop.  We went yesterday.  As this was the first time she did anything like this, she only had six vendors and the turnout was low {even the troops parents didn't come!}  I was able to sell some items, as I was the only handmade crafter there.  She plans to try again in April and will work on getting more vendors and a lot more advertising.

Because the weather has been so nice, I have been going out with my neighbor the past few Saturday's.  We went to some local shows and took one day to drive around taking pictures of barns.  She wants to put together a series of pictures for one of her rooms.  Well, this has lead to us talking about taking a photography class.  I realized, though I have a pretty good digital camera, I really don't know how to use all of the functions.  I've spent some time researching aperture, shutter speed, etc, but I learn better by hands on work.  We'll see.

Now, we are getting ready for our last show of the year next Saturday.  This show is usually very busy and we do well.  Then I really need to get myself organized for the holidays!

Til next time....stay safe and be happy.

Sunday, September 29, 2013

Time for a new oven

Had a partial disaster today with my convection oven I use to bake clay.  I've been on a roll, getting pins and buttons done for our show next week.  For some reason, the separate oven thermometer I use was reading 350-400 degrees when I was preheating it.  I turned the oven off a few times to let it cool, then tried heating it again before I baked some pins.  Well, dummy me, I thought maybe the thermometer was broken, so I put some pieces in anyway.  A few minutes later, I noticed smoke coming out of the oven.  Geez, I quickly unplugged the oven and took the clay and oven outside.  I also opened the windows and put the vent on.  Boy, you don't want to smell burnt polymer clay and you definitely don't want the fumes in the house.  My advice; if you think something is wrong with your oven, err on the side of caution and don't use it!!  I was lucky that I was in the kitchen, as I usually put the pieces in and go back to my studio to get the next batch ready for baking.  I guess it was worth the few lost pieces I had, vs the other, worse case scenario.

On a better note, I am pleased with the items I've been making.  I put together a few pumpkin pins.....
...and I am finally filling up one of my peg board stands.  I also bought 4 small crate boxes from Michael's and spray painted them black to use for our set up next week.  I'm hoping to be able to get things together for the show during the week, so I am a little better organized with what I want to put out.

I hope to take a lot of pictures of our space and will post them when I have a chance.

Til next time, stay safe and be happy!

Saturday, September 21, 2013

Buttons and more buttons

Been busy getting ready for our show in two weeks.  I'm making more buttons and football pins in different team colors.  My neighbor already has multiple people at work that want some, and I can't wait to see what the response is at the show.

Trying to come up with unique buttons can be a chore.  I don't want to make a standard button that can be bought in any retail store.  I'm trying to get a variety of colors in the time I have and am making different sizes and shapes.

I have to admit, I haven't searched too much for polymer clay buttons online, as I want to develop my own ideas.  There may be other artists out there that have used similar methods, and that's ok.  As they say..."Great minds think alike".  One technique I love with polymer clay is mica shift.  So...I thought, why not use that and make buttons.  So far, I have made two sets using mica shift.  {For those not familiar with mica shift - also known as ghost image - it's a technique that leaves the piece with a smooth 3D image in the clay.  I wrote out a tutorial a few years ago.  If you are interested, check out the link below.}
http://www.artfire.com/ext/shop/blog_post/DreamWeaversDesigns/3662

Here's the first set of mica shift buttons I made.  I used antique gold and used a jump ring for the component that is sewed to the clothing. 


 Here is another set I made today.  I used bronze clay, a honeycomb stamp and a square cutter.  I've sanded all the buttons, but only buffed the bottom two.  You can really see the difference with the shine and the 3D effect.  I must add that anyone thinking about working with polymer clay, should invest in a dremel.  This one piece of equipment can save a lot of time finishing your project and the results are amazing.


I mentioned in my previous post that I made two hinged pegboard stands for holding my buttons and pins.  I am pretty happy with the way they turned out.


Obviously, I have a lot more to make to fill this one.  Not to mention the second one that's sitting empty in my studio!  You can see a few of my pins on the right side.  I plan to work on some additional leaf pins this week.  Then, maybe pumpkins, or ghosts, or......you get the idea.

Here's one of my leaf pins and some football pins {these aren't quite finished yet}
 

Til next time.... stay safe and be happy!


Sunday, September 15, 2013

Fall is in the Air

Again, time has passed and I haven't had the opportunity to post.  The good news is the home repairs are almost done.  It seemed that the flood gates opened {no pun intended} when we had our flood in August.  Just a few more things to be done; hopefully in the next two weeks, then things will return to normal.  Anyone owning a home can understand the stress of dealing with multiple repairs while trying to maintain a normal work routine.  Luckily, I am able to work at home, so that has helped tremendously.

In between all the house issues, I have had a little time to work with my clay.  My neighbor is a football fan and a nurse and asked me if I could make her a football pin she could wear to work.  I did, and it turned out so cute, I am now making more for a fall craft weekend show we will be doing in three weeks.  I hope to get some more completed and photographed by the end of this week.  I'll post them when I get a chance.

I also made two hinged pegboard stands for hanging my buttons and pins.  I really need to get busy and make more variety, so I can fill the boards up!    

Till next time, stay safe and be happy.

Sunday, August 11, 2013

Work, work, work......

I meant to get a lot of claying done this past week.  However, we had a flood downstairs and I have been dealing with clean-up, insurance, plumbers, etc.  Between my regular job and the mess, it left little time to create!

I'm slowly building up my stock on buttons.  I have a cricut and cut out some cards to attach the buttons to.  I initially used a larger stamp {the black and grey buttons on the right}, with initials of my company, then switched to smaller letters, which I think look better.  My goal is to get a stamp with my logo; just need to find out if I can incorporate the entire design on a stamp no wider than an inch.  I think that will make the card look a lot more professional.
I made a second pendant with my cameo mold.  I actually used leftover clay for the mold, thinking I would cover it with silver pearlex powder.  While lightly sanding the piece, the powder on the background came off and now you can see the "marbled" background.  I need to decide if I want to make the background a little darker to cover the clay now showing or for contrast.  I textured and brushed the black back piece with pearlex powder and applied small swarovsky crystals at the corners to add some subtle bling.
Years ago, I was playing around with clay and made an owl.  It has been sitting, doing nothing since.  Well, now you see them everywhere; we even saw them all over the place when we went to Gatlinburg in July.  So, I am making more.  My goal is to make them in all shapes, sizes and colors.  Because football season is just around the corner, my first new piece is done in Raven's colors!  I wanted to make a pendant that could be used as a necklace, as well as a pin.  I made the bail from 20 gauge non tarnish silver colored copper wire and elevated the area for the pin to allow it to sit right.  The only thing left it to sand and polish with liquid wax.
Finally, last weekend, I bought some clear repositionable window decals, in the hopes of making one for my car.  What better way to advertise, right??  Well, as the windows are tinted, you couldn't see the first decal I made.  So, I decided to print a color copy and place that between two of the clear decals.  Not sure how well it will hold up, I may have cut the clear paper too small to keep closed.  It's lasted a week, with a lot of rain. 
I would love to find a large enough magnet sheet or white blank decal to use.  I may have to see what I can find online to order one.

Well, it's back to creating today.  At least for a few hours.

Til next time, be happy and stay safe.....


Sunday, August 4, 2013

The cool days of August

It's only a few days into August and we are having beautiful weather.  All the windows are open and the breeze is blowing in.  It almost feels like the start of Fall...and I love it!

We had a show recently at a local fire hall flea market.  There were a lot of open spaces; we aren't sure why so many people didn't show, unless they were anticipating storms.  The week before was pretty wet.  Even the customers were few and far between.  There were vendors with flea market items as well as some crafters. 

Here's a shot of our set-up....
We decided to go light with our items, due to the possibility of a storm mixed with the projected heat and short show hours. 

I dedicated one table to my polymer and kumihimo...
The other table had a mix of beaded jewelry and polymer frames, bowls, buttons and a clock...
The day was slow but our neighbor vendor mentioned a Fall show coming up in October.  I hadn't heard of the show before, but, was able to speak to the coordinator of the show and learned it was a two day event at a large fairground. 

The application for the show is complete and now the rush is on to build up my inventory.  I'm hoping the location and size of this show brings in a lot of shoppers getting ready for Christmas.  Stay tuned to see what's been on my work table.

Til next time, be happy and stay safe...........   


Thursday, July 18, 2013

The muse continues

I can't tell you what a difference it makes to have a dedicated space for my work.  I have been able to spend time, each evening, working on my inventory.

At a recent show, a man asked if I had any cameo pins, as he wanted to buy one for his mother.  This was the second request I had for a pin in the last two shows.  Well, that got me thinking that I may need to expand my stock.

I happened to have a cameo pendant, so I made a mold and started to work.  Here is the final result...
Now, the photo makes the pin look huge, but it's actually a little more than an inch and a half in diameter.  It has a lot of detail on the base, which I highlighted with copper gilders paste.  A simple twist of black finishes the edge.

Historically, cameos are actually carvings of a raised design in one color, on a background of a contrasting color.   When I think of them, I usually think vintage Victorian jewelry.  Truth is, they go wayyy back to ancient times, some dating back to the 3rd century B.C.  Initially hand carved, now-a-days, cameos can be carved by hand or with a machine.  Google cameos and you will find a multitude of photos.  I really admire the skill and artistry required to complete these beautiful pieces.

I have some more cameos I am working on, and decided to break from the traditional white on black.  I mixed up some faux jade {thank you Cindy Lietz for the great tutorial!} and finish them for the show we have Saturday.

Here's what I need to finish sanding, buffing and putting on the background....
I'm hoping that when these cameo pieces are nice and shiny, they pop!  Also pictured are a few extra faux jade pieces and some more buttons. 

Till next time, stay safe and be happy.